It’s finally here!
The Stone Relief Mold is now available to add to your mold collection. This mold has pieces of ultra-fine detail to add that extra bit of class to your builds. This is another advanced mold, so I’ll go over some of mold’s different uses and quirks.

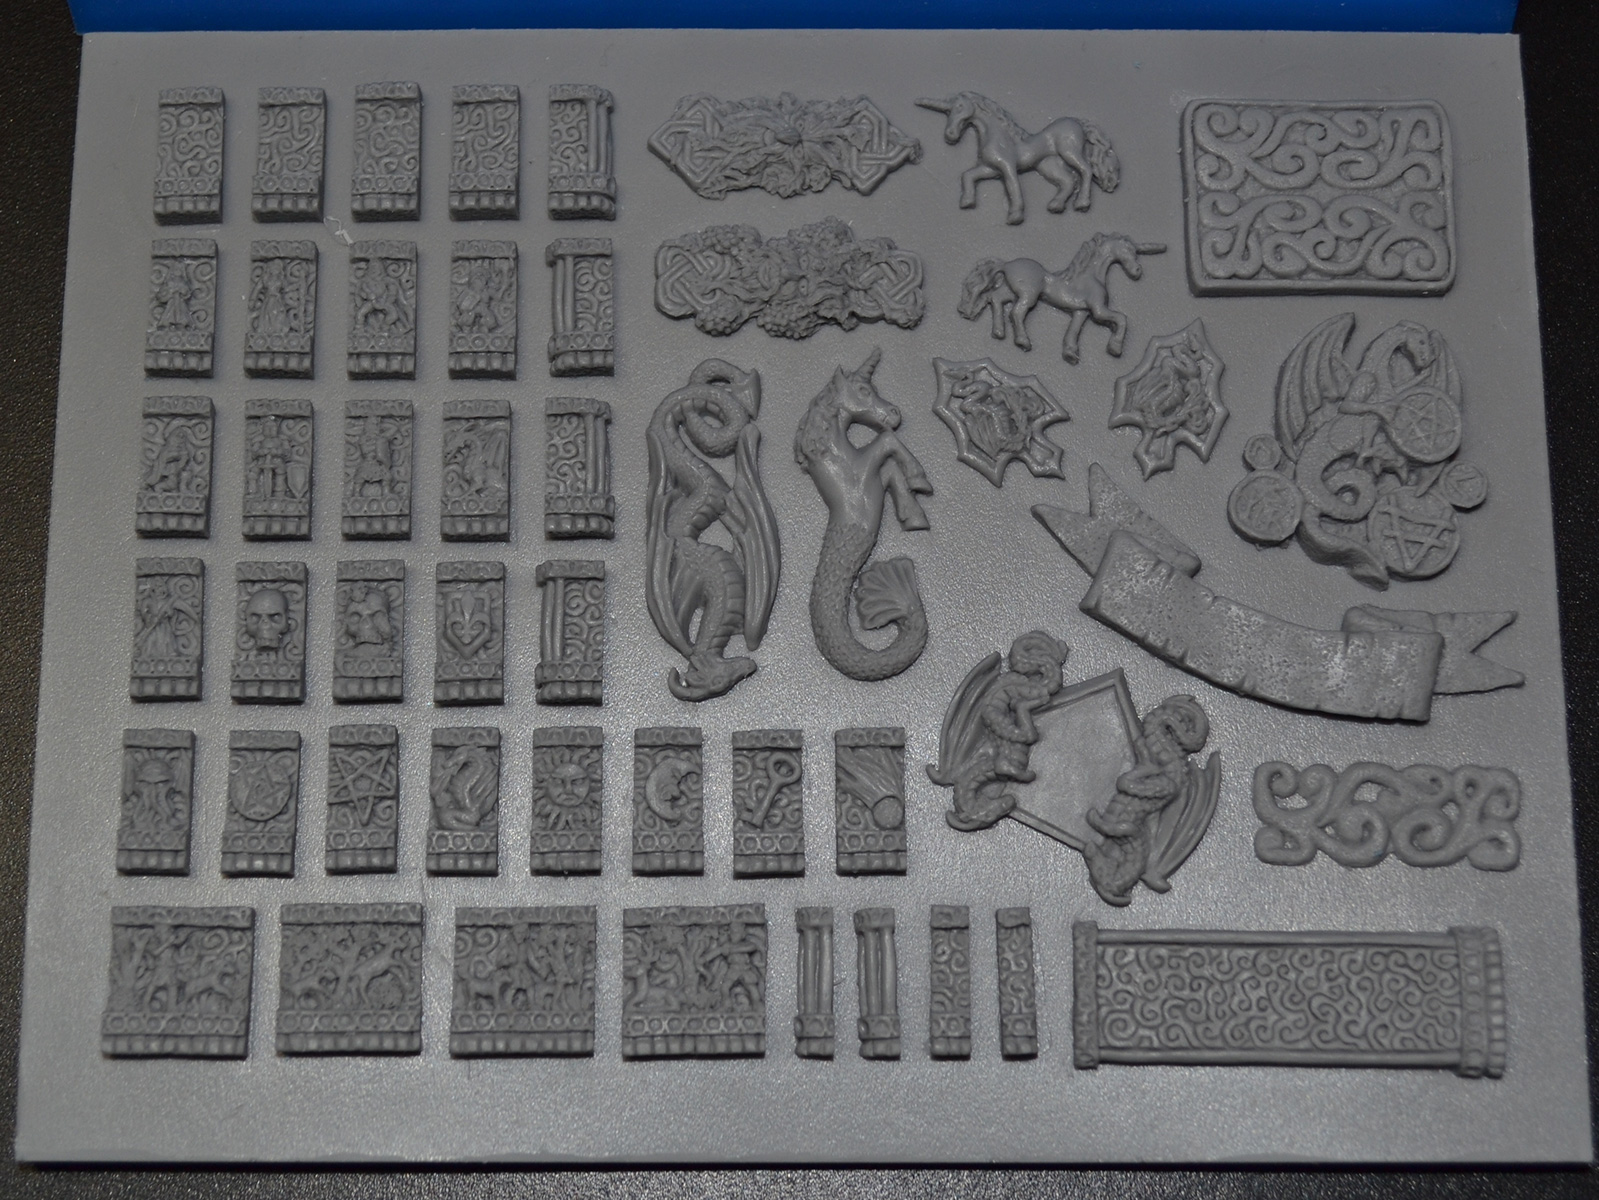
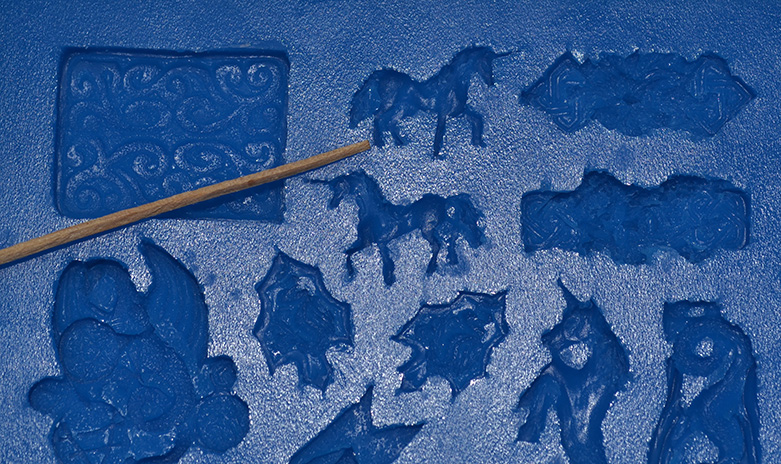
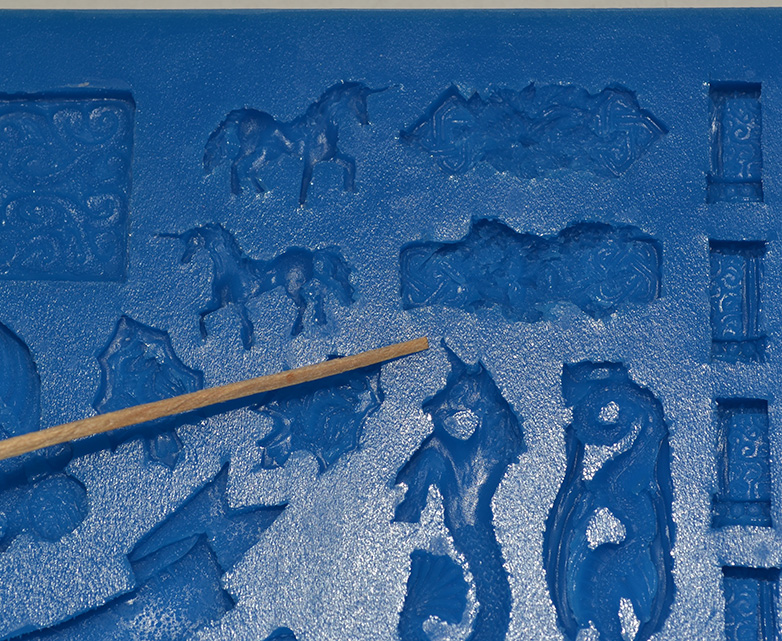
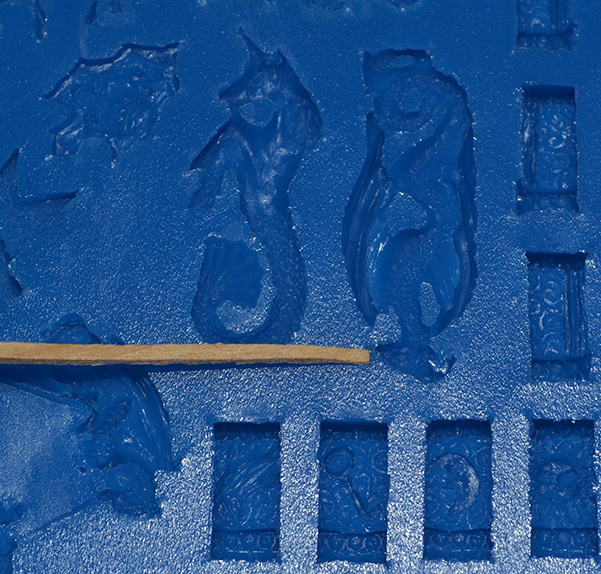
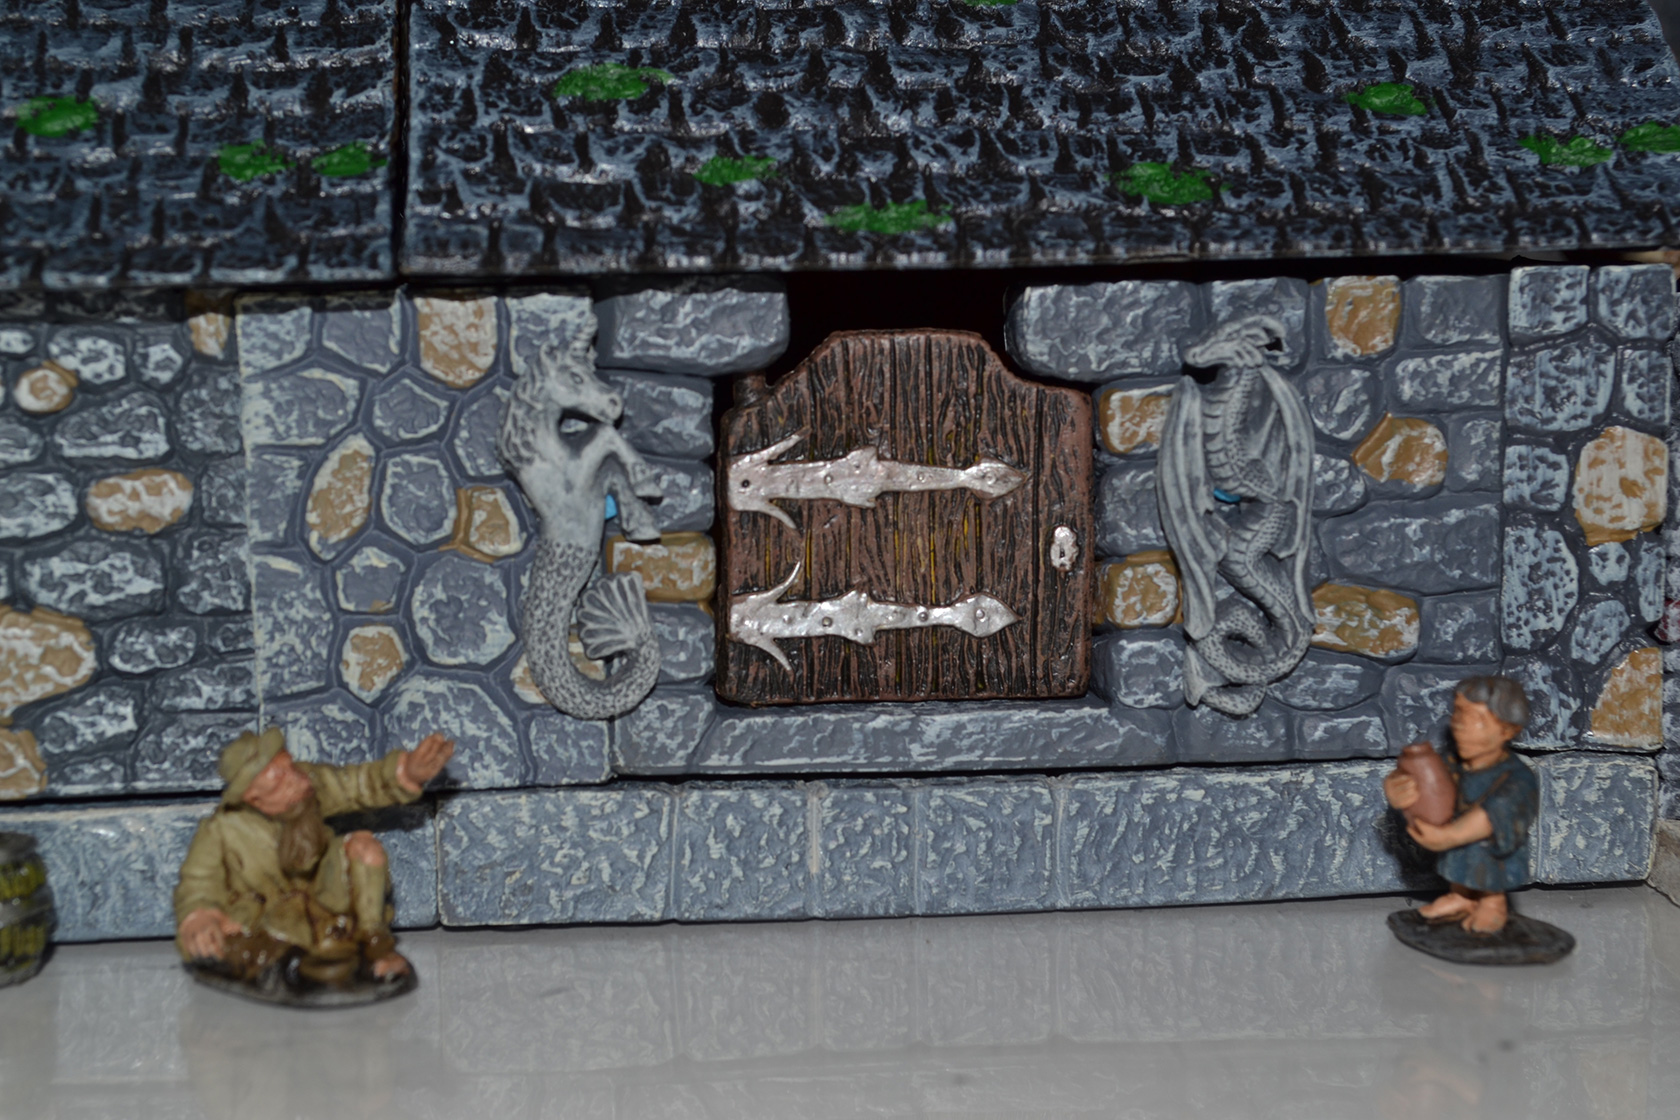
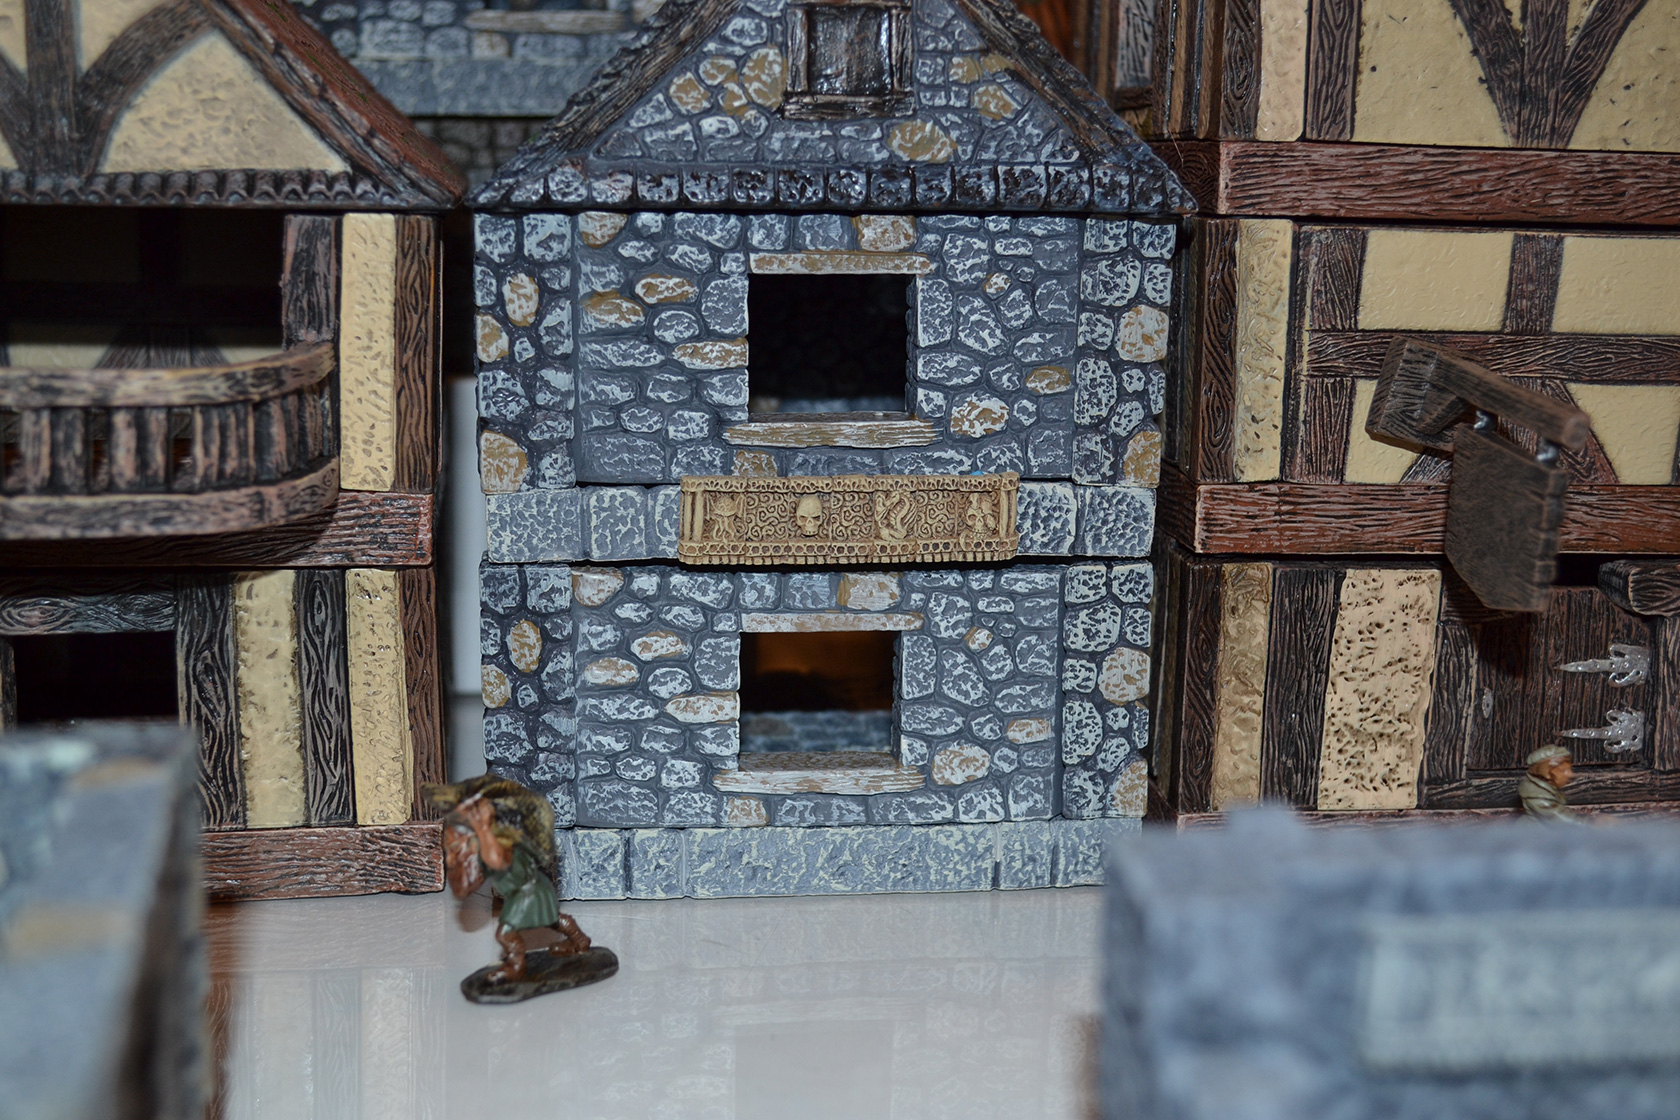
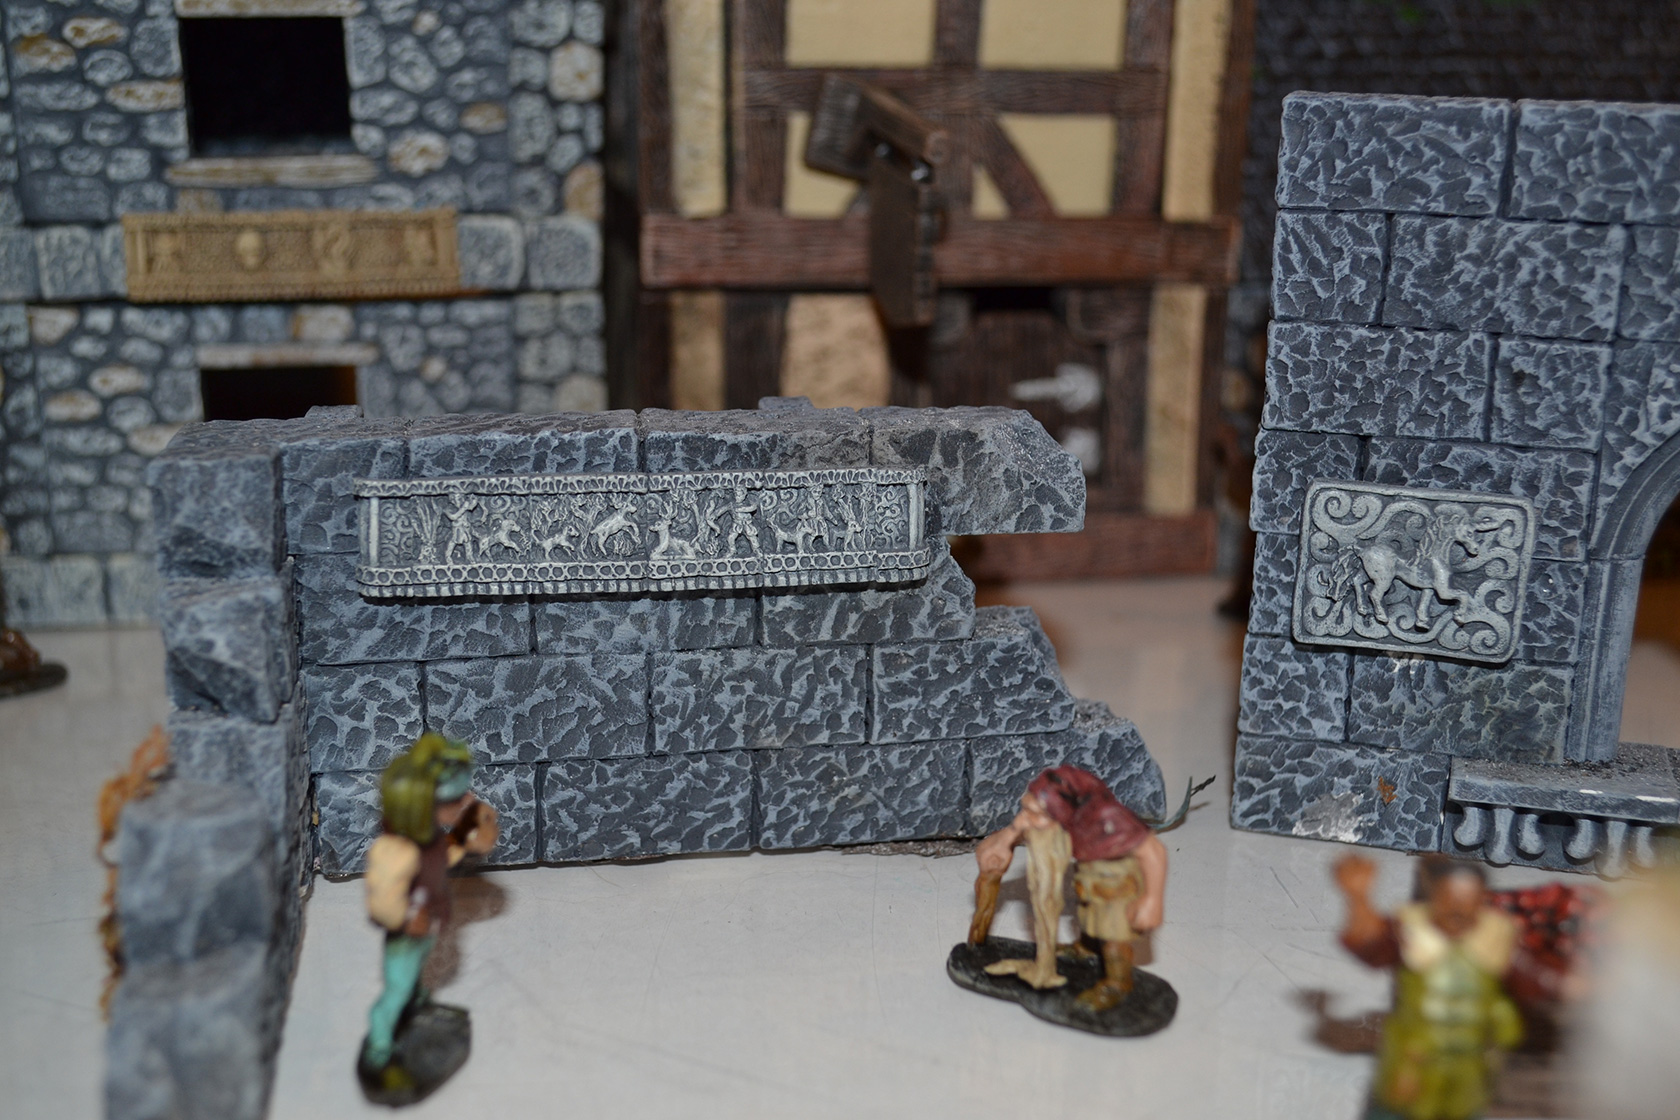
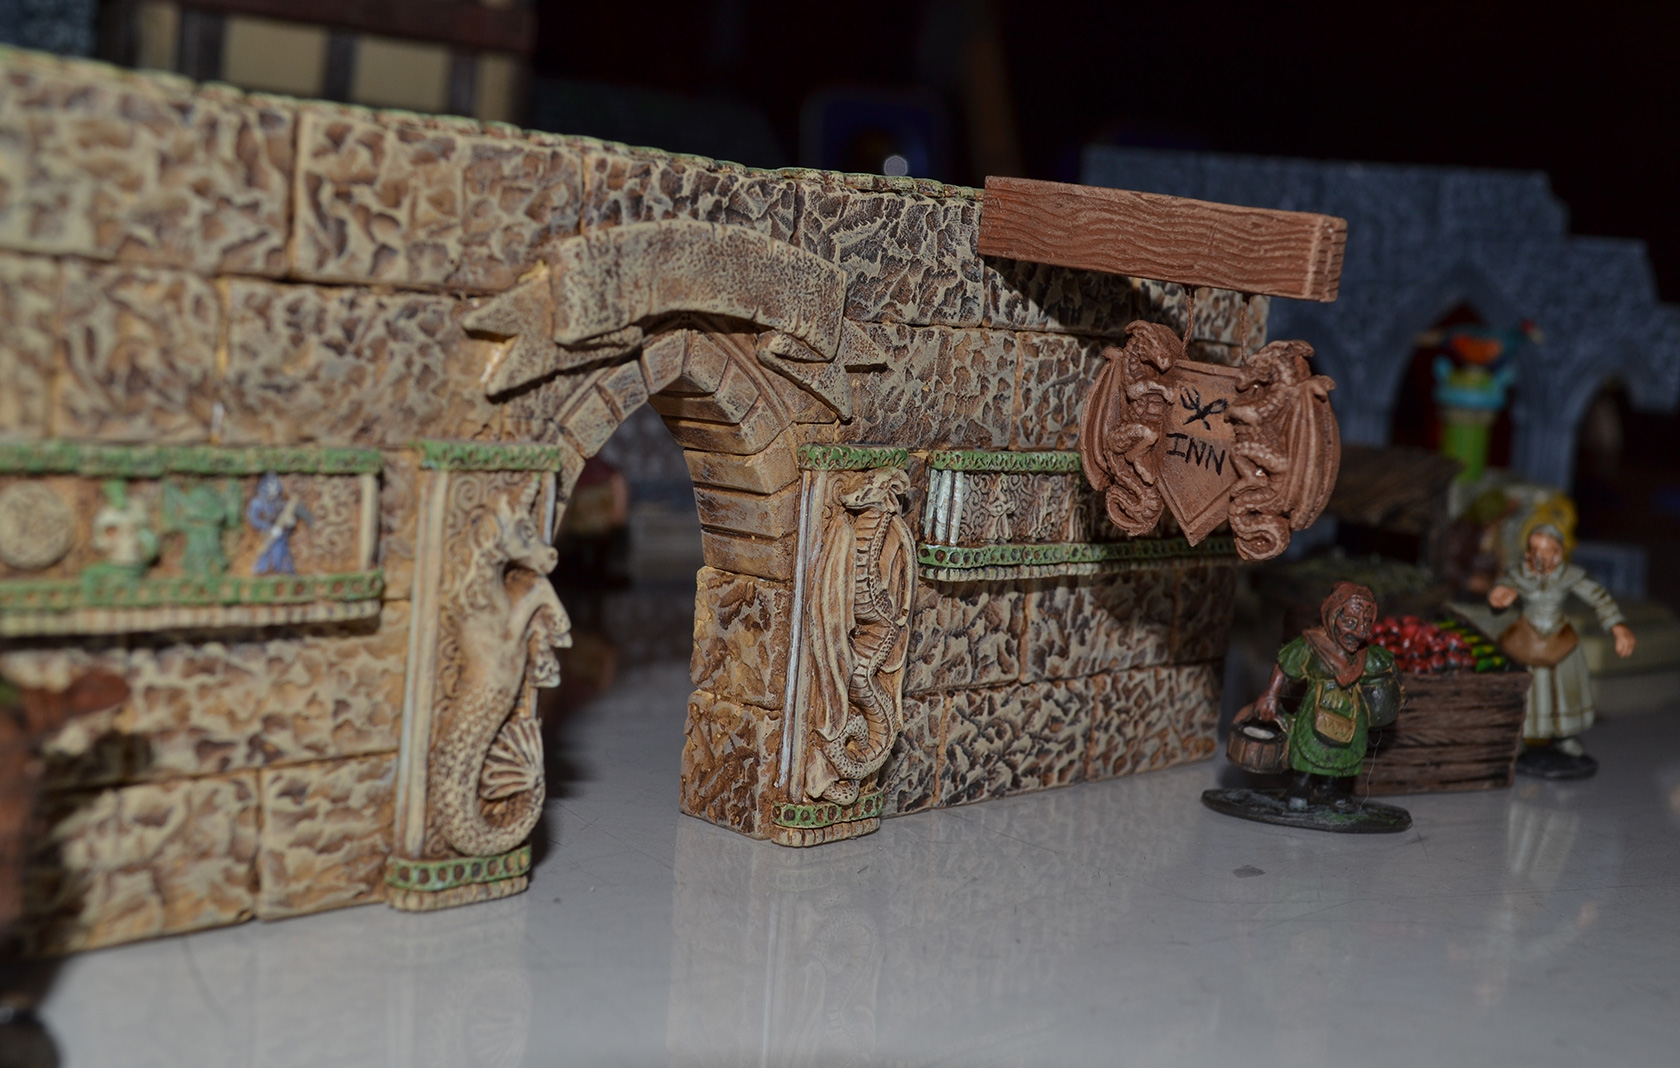
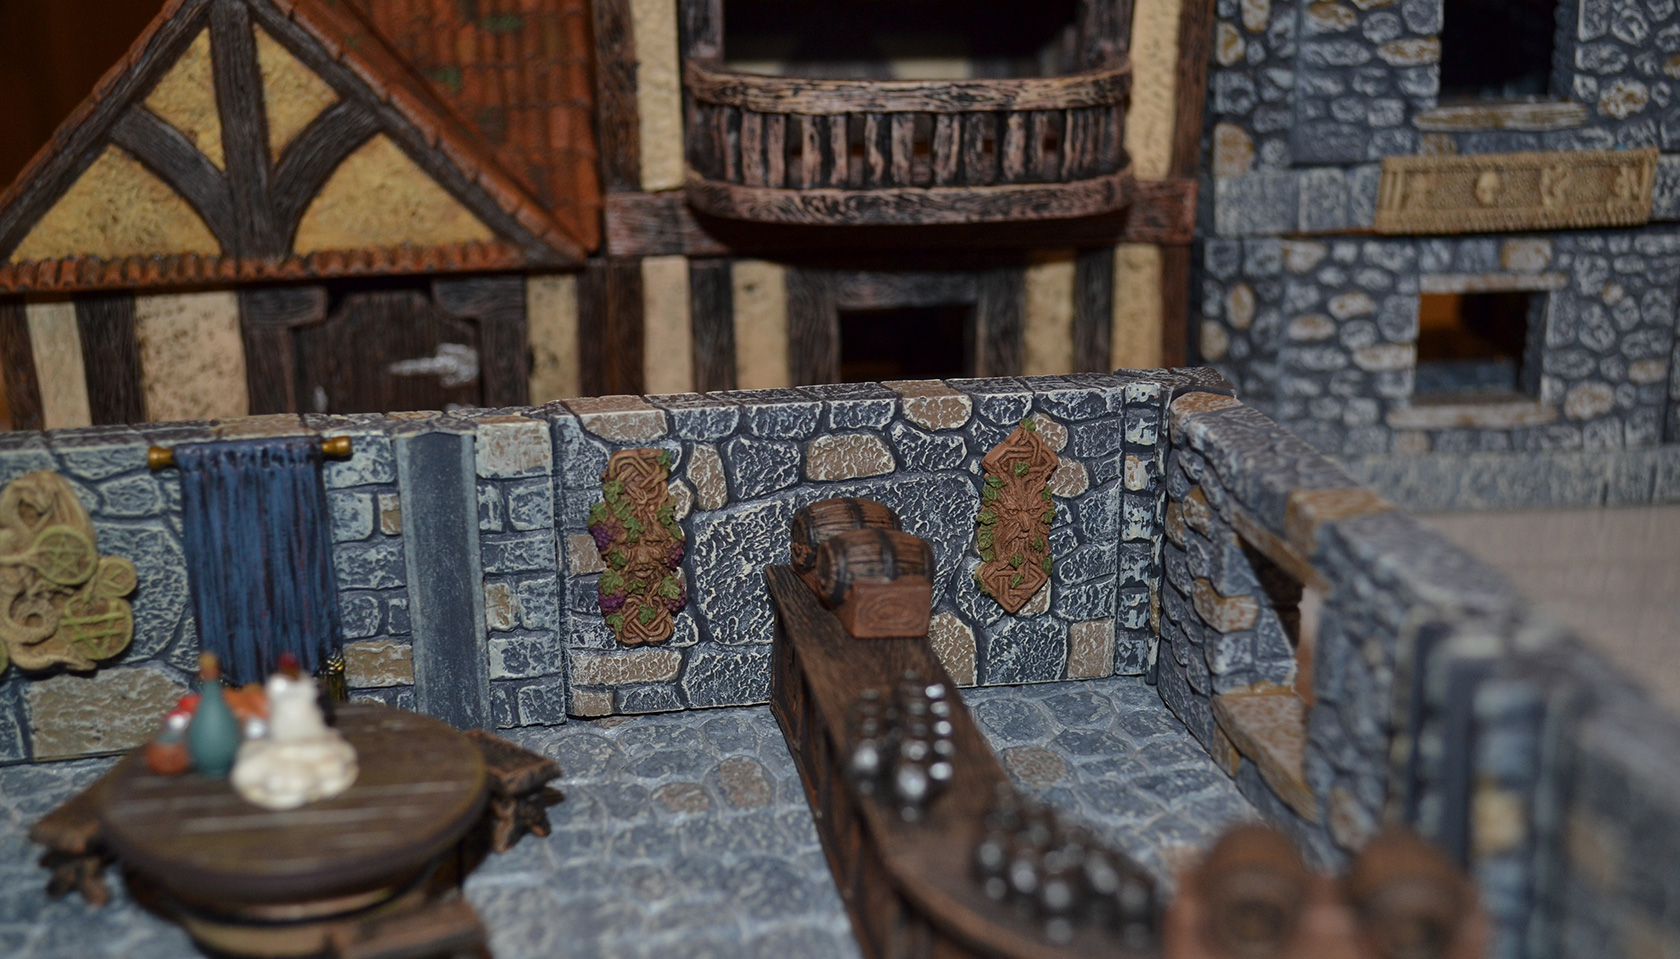
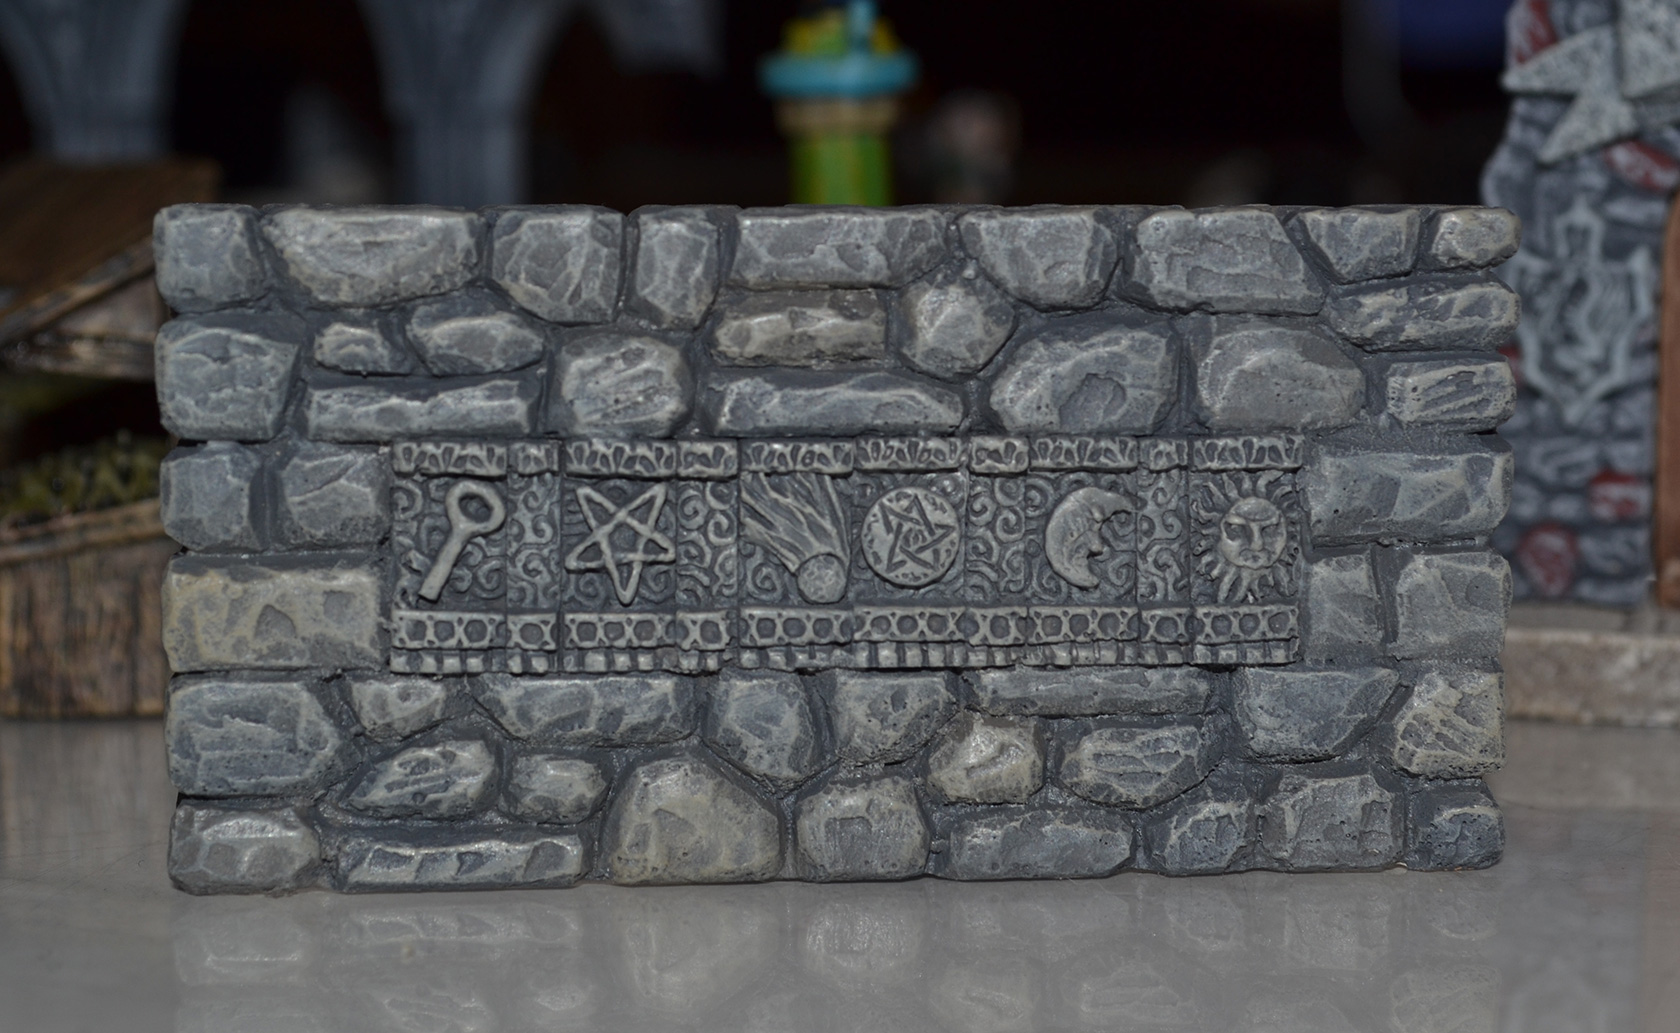 The main part of the mold, the Relief Tiles, are 1/4″ wide by 1/2″ tall tiles. There are 20 unique characters/symbols, 4 blanks, and 4 end caps. There are also 4 different 1/2″ by 1/2″ hunting scene tiles. Additionally, there are 2 half-spacers that measure 1/8″ by 1/2″ and 2 corner wrap-around pieces. These tiles are designed to apply directly to a wall or they can be embedded into the wall itself by using 1/2″ tall by 1/4″ thick wall or floor tiles sandwiched between two rows of the relief tiles.
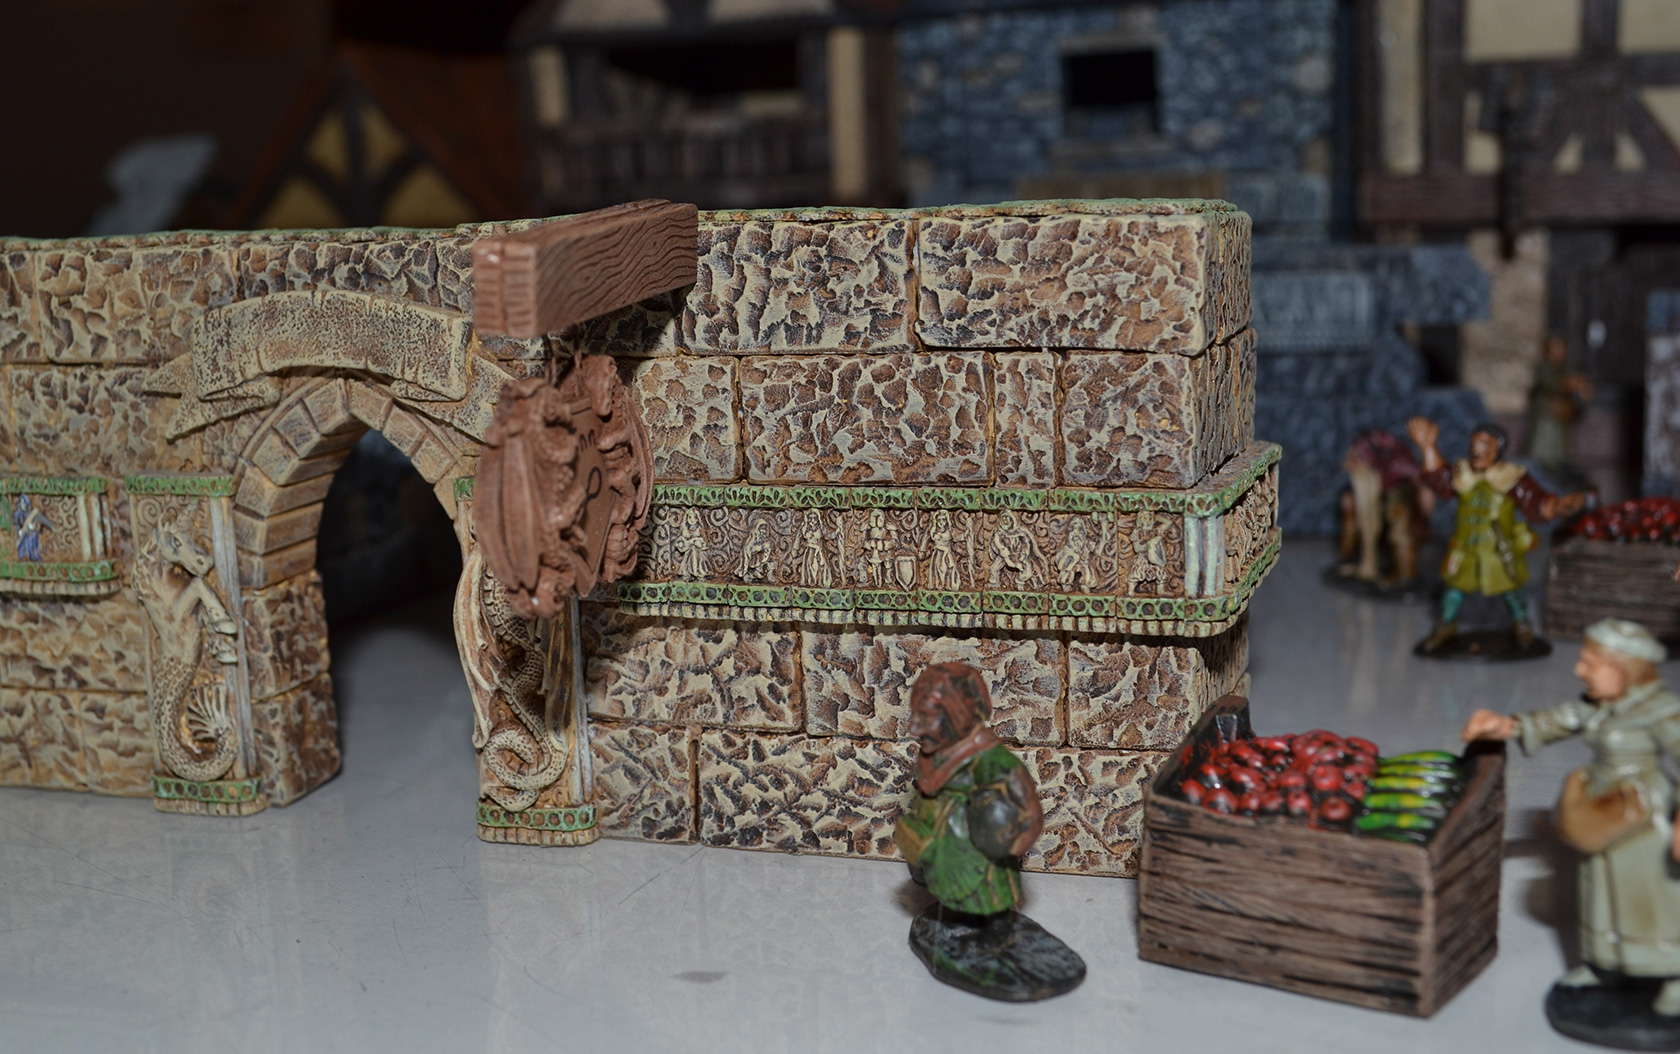
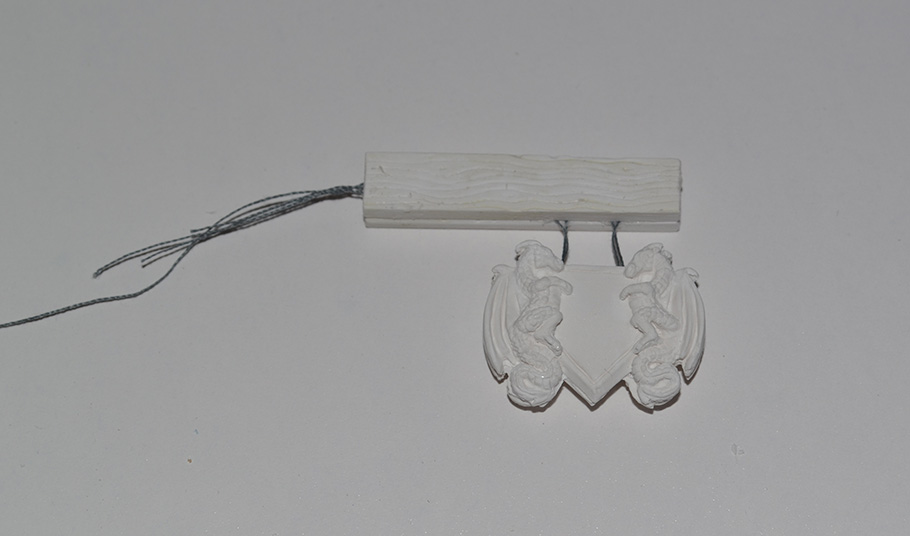 The dragon shield crest works flat against a wall or placed back to back to create a hanging sign. By placing a couple of lengths of thread between the two pieces before gluing, you can easily hang the sign from any pole.
Due to the thickness of some of these pieces, I recommend using resin for the unicorns and the 1″x 1/2″ flourish piece. It IS possible to use gypsum cement (Hydro-Stone) or Merlin’s Magic/Excalibur but it can be tricky getting the pieces out without breaking them. It’s best to let the pieces cure a bit longer than normal before attempting to remove them. Also, you should be prepared to break several before you get the hang of removing them.
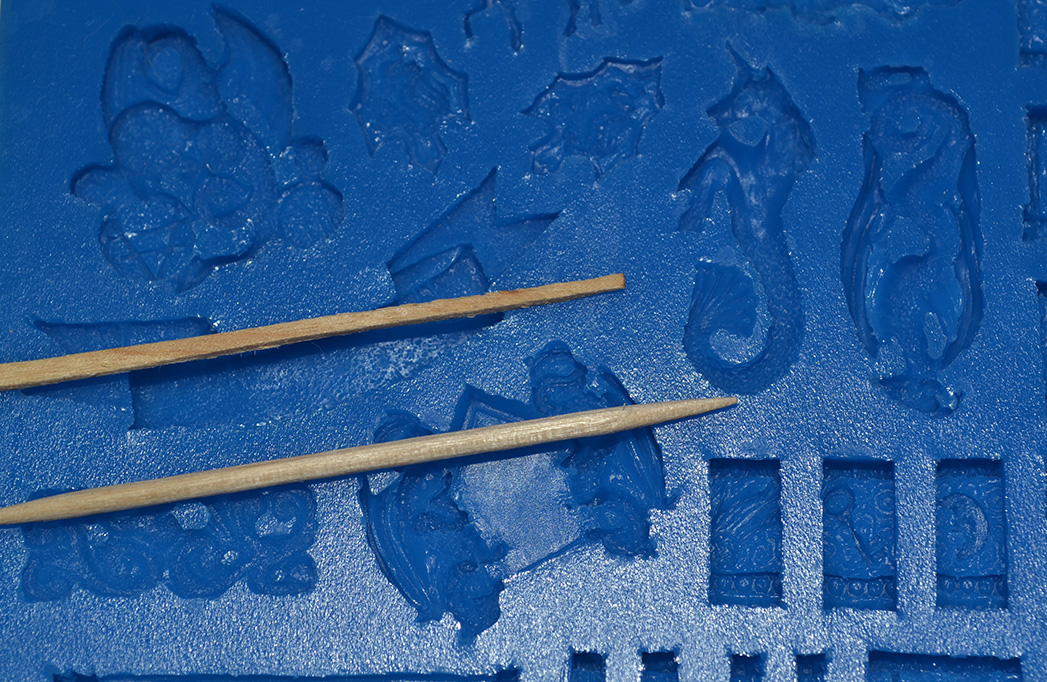
There are also a few trouble spots for bubbles. The ends of the unicorn’s hooves, all three horns, and the tip of the dragon’s nose. Vibration does very little to get rid of these bubbles. I suggest getting some FLAT toothpicks, they are weaker than round toothpicks and have a rounded end rather than a point, this means you are less likely to damage the mold when using them. After pouring your plaster, prod the trouble spots with the end of the flat toothpick to dislodge any trapped bubbles.
If you are using resin, I recommend a vacuum or pressure chamber for the best results, but the toothpick method can help here too. The platinum cure silicone I use is resistant to resins, but I still recommend using a release agent to prolong the life of your molds.
For the Dwarven Forge fans, many of these pieces work great with magnets or sticky-tack. For the character tiles you can glue a row of the pieces to a bit of thin cardboard or card stock. Then attach the magnets or sticky tack.
I really enjoyed sculpting these pieces and I look forward to seeing what folks will use them with. My next mold will also be décor-style pieces but with a very evil bent. It is the second in a series of themed molds I have planned. So stay tuned.


James Cox
Very nicely done. I hope you are able to also sell castings from these molds.
Heath
When are the next molds due to be released?